 The repair of Rogers
reinforcement rings Part 2
 The mission was started!
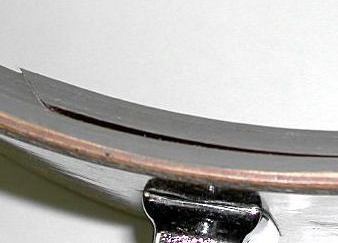 This is the batter-side's reinforcement
ring.
The cut ends are hitting each
other!
I couldn't glue it with this
situation.

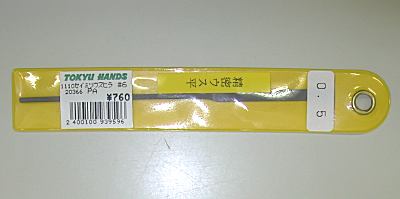 So, I prepared for the thin file.

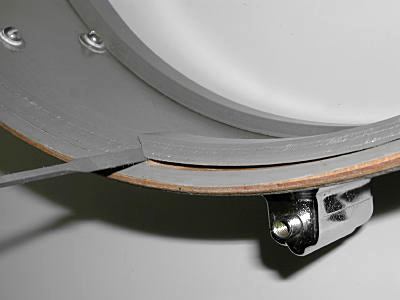 I cut the bothering cut end carefully.
(I knew that the reinforcement
ring of Rogers is very hard!)
 Let's glue it at last.
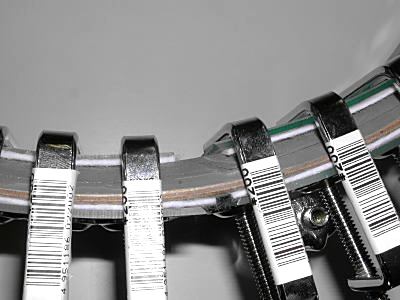 Put the shell between the rulers.
Then, it is clamped.
Incidentally, I used the "Titebond".
 On the other hand, this
is the snare-side's reinforcement ring.
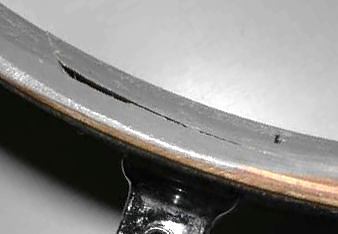 Wow, it is short of a part of
the ply!
I couldn't glue it with this
situation.
 So,,,
So,,,
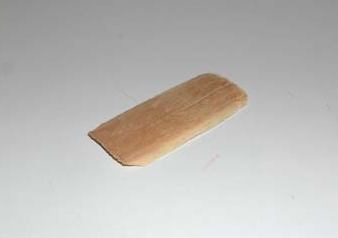 I cut a wood chip for that hole.

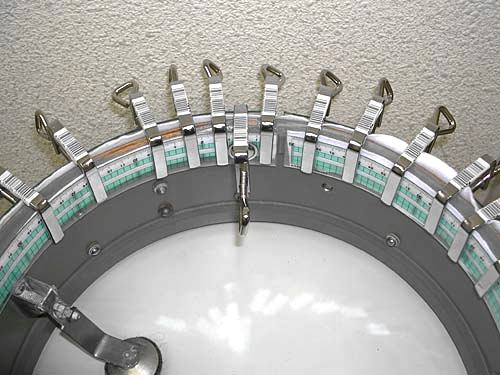 This is a whole view.

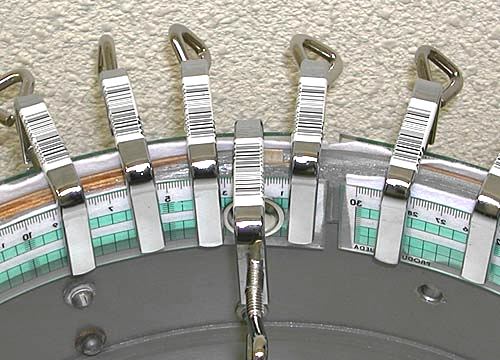 Enlarged
Wood chip is a little large.
But, this is shaved later.
Just like this, let's dry it
for several weeks.
 To be continued...
;-)
Go to
the repair of Rogers reinforcement rings Part 3
Return to the repair of
Rogers reinforcement rings Part 1


 Goodies &
info for ROGERS
 Return to menu

